 |
| Red plums. I had already peeled a few so what’s shown is less than the 4 lbs. |
 |
| A vegetable peeler makes this job go quickly |
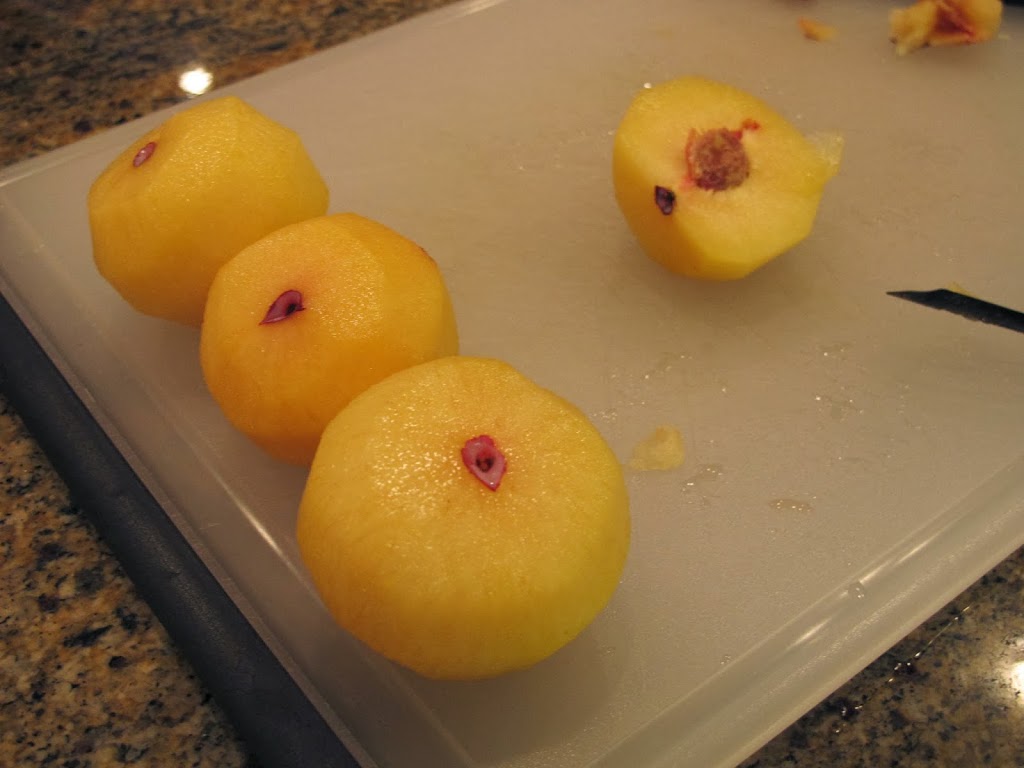 |
| Once peeled, chop the plums into segments, removing the pit of course |
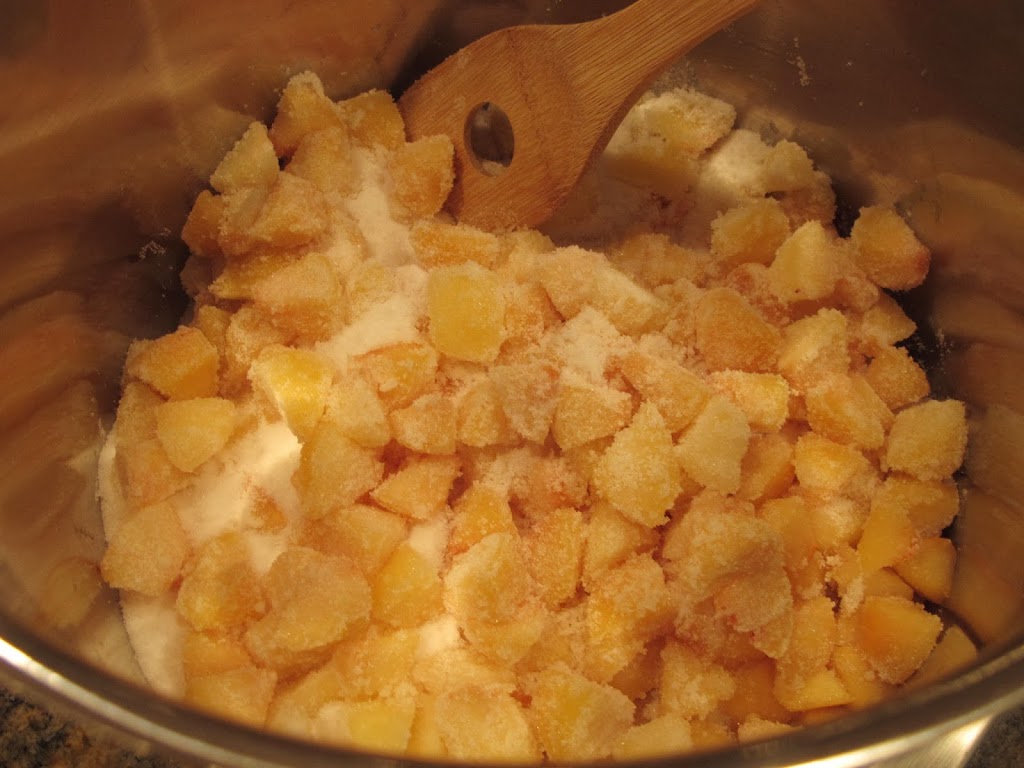 |
| Plums starting out |
Once the fruit is prepped, it goes into a large stainless steel pot with a lot of sugar (usually 1 cup per pound of fruit). I know it sounds like a lot (and it is) but it is the sugar that preserves the fruit, so you really can’t skimp too much. Just think of the finished product as an occasional treat, not an every day food.
At this point we zest one lemon and reserve the zest. The juice of the lemon goes right into the mix.
 |
| A little heat and the plums start to soften |
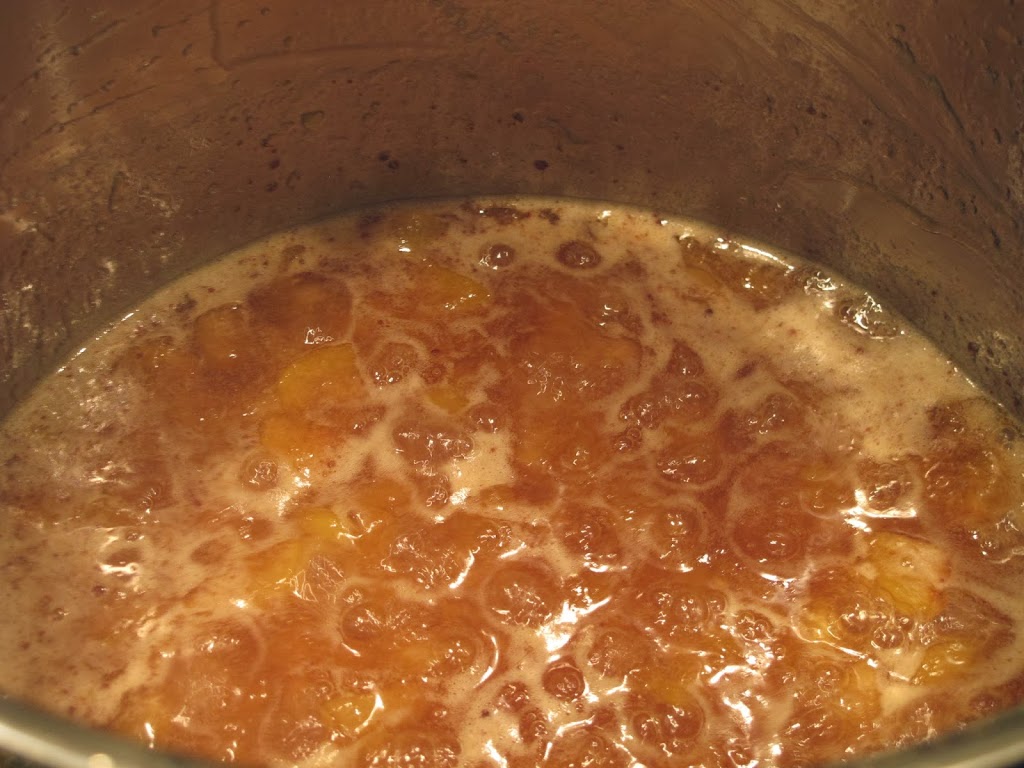 |
| Golden goodness! |
Once the plums have soften (maybe 30-45 minutes), a potato masher does a great job breaking up the chunks. At this point you add 2 Tbsp. of dry pectin (or per the package directions), the zest of the lemon and a tsp. or so of cinnamon (that’s what gives it the reddish color in the photo above).
During the cooking process it is important to have your canning bath boiling (it takes a while to get a huge pot of water up to temp). Once ready, you sterilize the jars, ladle, funnel etc, anything that’s going to be touching the jam.
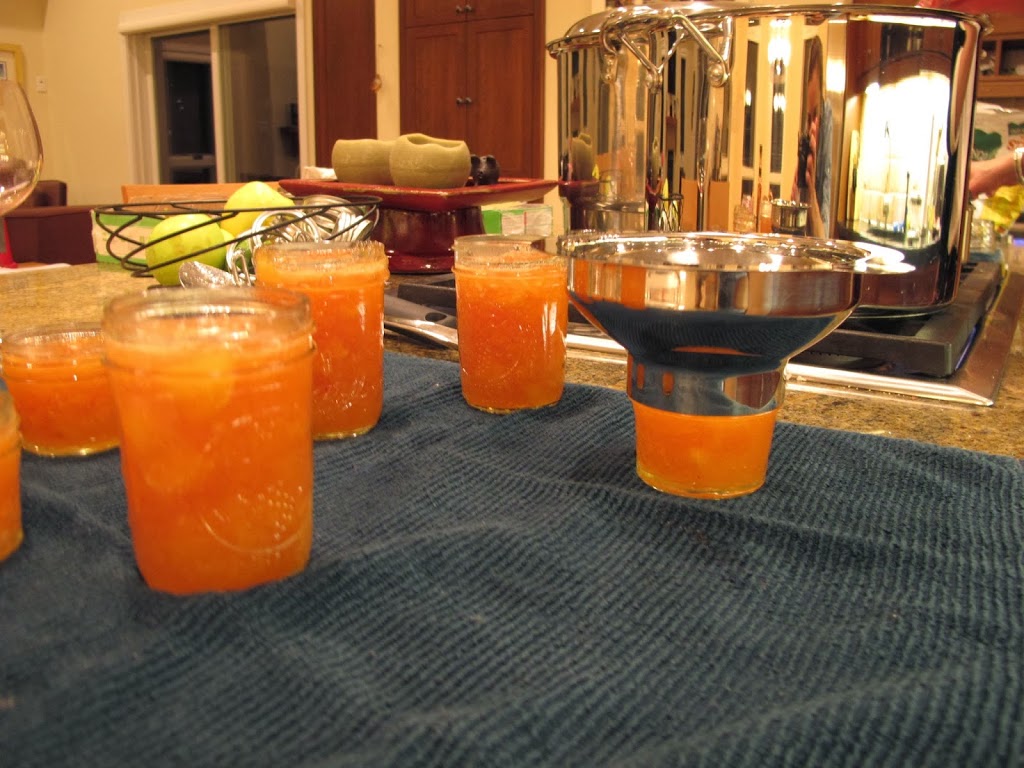
Then you ladle it into jars. I love a combo of the 8 oz and 4 oz ones. Make sure to wipe the rim of the jar down with a damp cloth so the lid adheres properly.
The lids (which have been heating in a separate sauce pan) go on, then the ring (not too tight). Then into the water bath they all go.
 |
| Jam before it’s canning bath |
After 15 minutes in the canning bath, at temperature, you’re ready to turn off the heat and let them slowly cool. If all has gone well you’ll here the satisfying sound of the lids popping as they seal.
Then it’s just a matter of letting them cool, putting on a nice label and packaging them up in a gift bag with some nice coffee and scone mix (really a great gift for your Thanksgiving host or for Christmas morning).
There are a few details of the process I’ve sort of glossed over, but don’t worry! There are tons of resources online, like the Ball website, that tell you all about the exact temperatures, timing, and steps to make sure your jam is delicious and well preserved.
Enjoy!


